On Day 3 of TerraWeek, we dive into the crucial aspect of Terraform: managing resources. From defining resource configurations using HCL to understanding dependencies and lifecycle management, each aspect is meticulously explored. Through hands-on exercises and real-world scenarios, we grasp the intricacies of resource management, ensuring scalability, reliability, and maintainability of our infrastructure.
Task 1: Create a Terraform configuration file to define a resource of AWS EC2 instance.
Create a Terraform Configuration File: create file with a .tf extension (e.g. main.tf) and write your Terraform configuration using the HCL syntax. This configuration describes the resources you want to provision in your cloud provider.
For example, to provision an AWS EC2 instance, your
main.tffile may look like this: -
Task 2: Check state files before running plan and apply commands
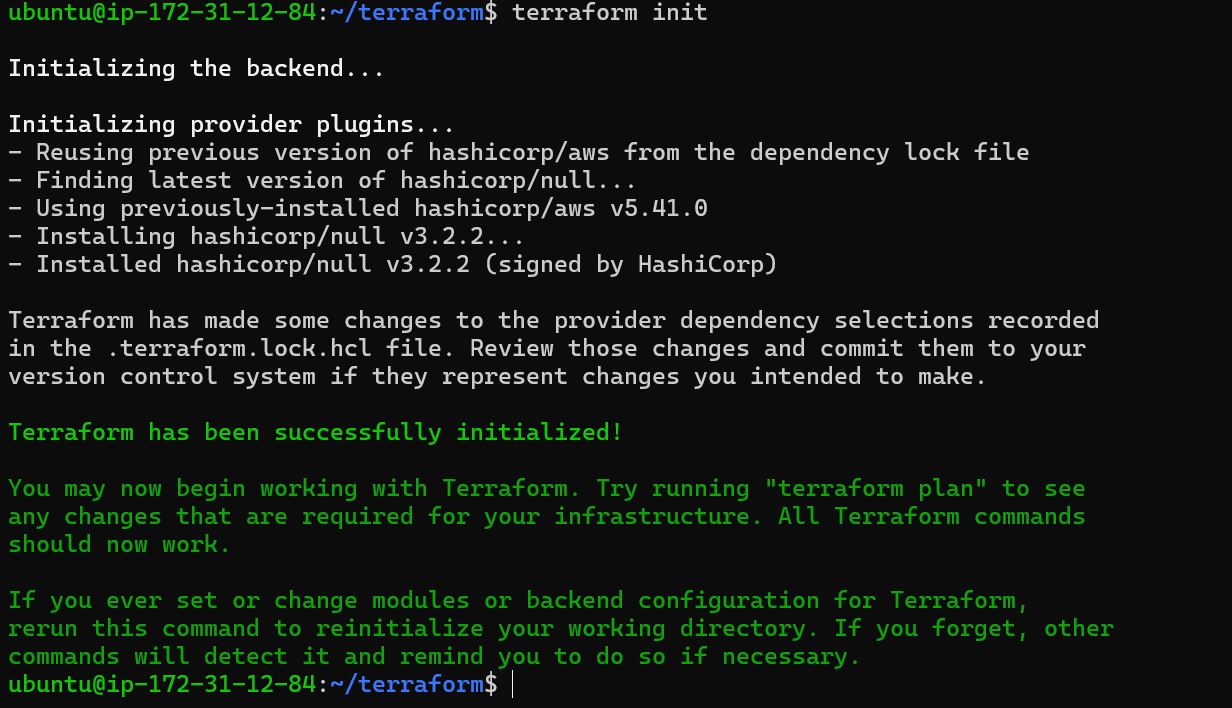
• Initialize Terraform: Open a terminal or command prompt, navigate to your Terraform project directory, and run
terraform initto initialize Terraform and download the necessary plugins.
• Plans terraform: The
terraform plancommand. By runningterraform plan, users gain insights into the impact of their proposed changes, enabling them to review and validate configurations before implementation is a pivotal tool in the infrastructure as code (IaC) workflow, providing a preview of changes before they're applied to your infrastructure.

• Apply the Configuration: The
terraform applycommand analyzes your Terraform configuration, creates an execution plan, and prompts for confirmation. If everything looks correct, you can confirm the changes, and terraform will provision the resources on your chosen cloud provider.

• Checking State Files: Use the
terraform statecommand to see the current state of your infrastructure:

• Validating Configuration: Double-check that our configuration is error-free.
terraform validate
Task 3: Add provisioner to configure the resource, use Terraform commands to apply for changes and destroy to remove resources.
Let's add provisioner to run commands on Ec2 instance after it's creation.
- Adding Provisioning: Add something to our
main.tffile to include a provisioner.
- Adding Provisioning: Add something to our
    provider "aws" {
    region = "us-east-2"    # Replace with your desired region
    }

    resource "aws_instance" "example" {
    ami            = "ami-0b8b44ec9a8f90422"    # Amazon Linux 2 AMI ID
    instance_type = "t2.micro"
    }

    resource "null_resource" "example" {
      # This resource does nothing on its own, but it can be used to run local-exec provisioners.
      provisioner "local-exec" {
        command = "echo 'Hello, world!'"
      }
    }

• Verify the Provisioning: Check the AWS Management Console or use the AWS CLI to verify that the EC2 instance has been created successfully.
• Initialize Terraform: Run terraform init to initialize Terraform.

- Applying Changes: Apply the changes to our infrastructure:
terraform apply

Task 4: Add lifecycle management
Let's add lifecycle management configurations to control the creation, modification, and deletion of the resource and use Terraform commands to apply the changes.
- Adding Lifecycle Configuration: Add something to our
main.tffile to include a lifecycle configuration.
    provider "aws" {
    region = "us-east-2"    # Replace with your desired region
    }
    resource "aws_instance" "example" {
    ami            = "ami-0b8b44ec9a8f90422"    # Amazon Linux 2 AMI ID
    instance_type = "t2.micro"

    lifecycle {
        create_before_destroy = true
      }
    }

Initialize Terraform: run
terraform initto initialize Terraform.
- Applying Lifecycle Changes: Apply these changes to our infrastructure:
terraform apply

With the completion of Day 3, we have earned practical knowledge of managing resources in Terraform like defining resources, verifying configurations, automating configurations using provisioners, and managing resource lifecycles. Day by Day, we are improving in the journey of Terraform. So, let's continue our journey in learning Terraform.
Hope you found this article informative and useful. Thanks for reading this article.
Keep Learning...
